
Back Office Setup
Where can I access the back office setting for the QR Table ordering?
- Enter Back Office, https://management.prodbo.abcpos.com/#/passport/login
- Choose your company to enter the back office setting
- Click “Add On”>>”QR Table Order”
- Choose your Branch and click the “View”

- Now you can view/edit the QR Table ordering setting for the branch.
How do I create a menu for QR Table ordering?
- In the Back Office, click “Product” to view your menu
- You can add menu group e.g. lunch/dinner menu, or menu category e.g. “appetizer”, or individual menu item e.g.“fried rice” to the QR menu using the toggle
- Turn the “QR Order” toggle on to include in the QR Table

- Don’t forget to click “Save”
Can I add some popular items?
- Yes you can add popular dish items in the Back Office
- Back office>>Addon>>QR Table>>Select branch>>General Setting
- Select items you want to be displayed as “Popular Items”. First click “+ Add Item”

- Then select categories and items you want to add. Click “Save”
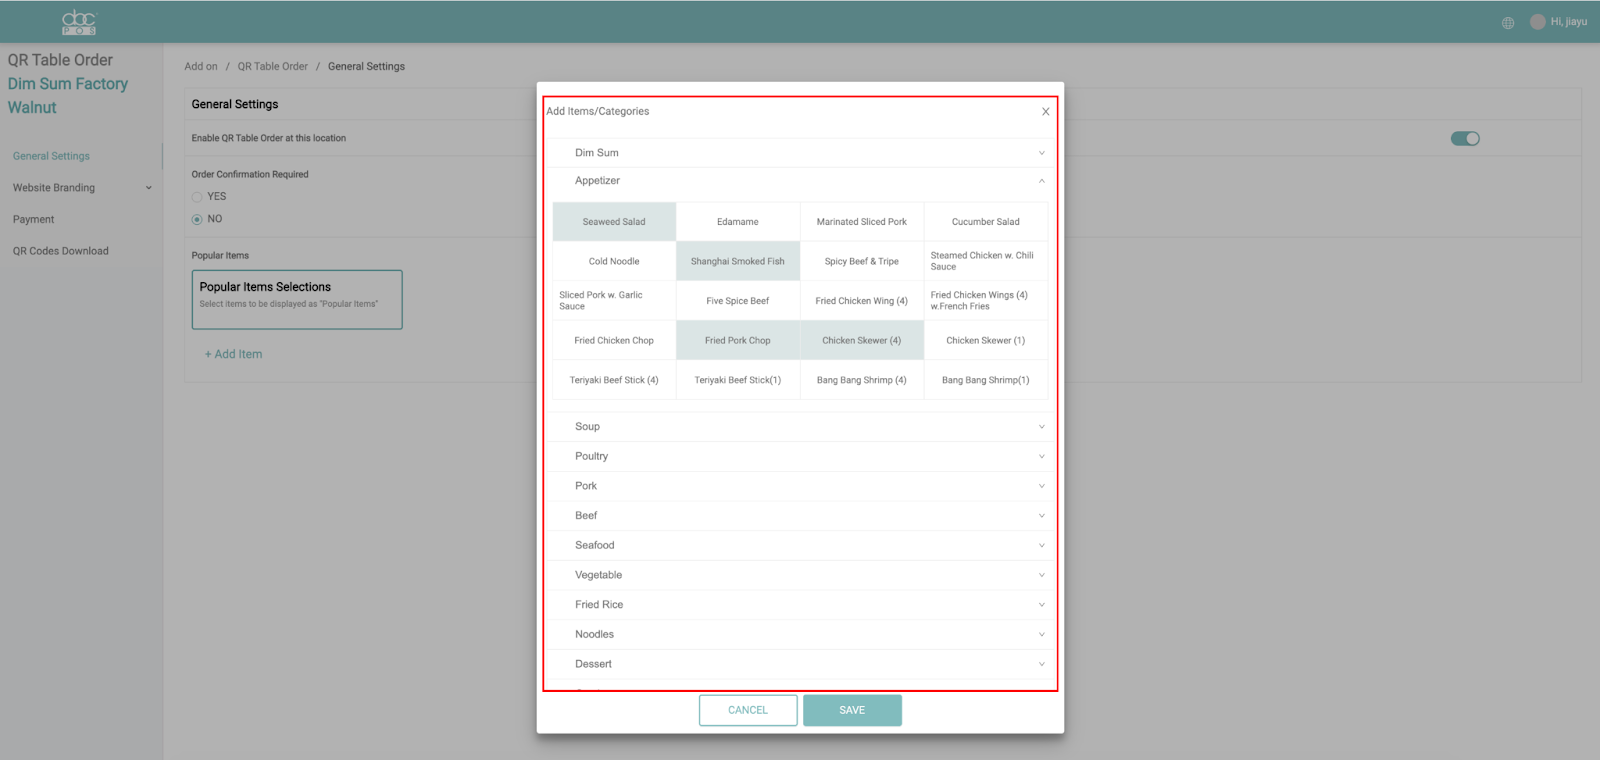
- Selected popular items will be displayed on the QR Mobile end
- You can delete popular items anytime by clicking the trash icon next to the dish name

How to add my brand picture to the QR Table ordering?
- Back office>>Addon>>QR Table>>Select branch>>Website Branding>>Upload Images
- Upload background image for QR mobile end

- Upload Header Image to appear on top of the menu on the QR mobile end

- Delete the upload picture by clicking the trash icon
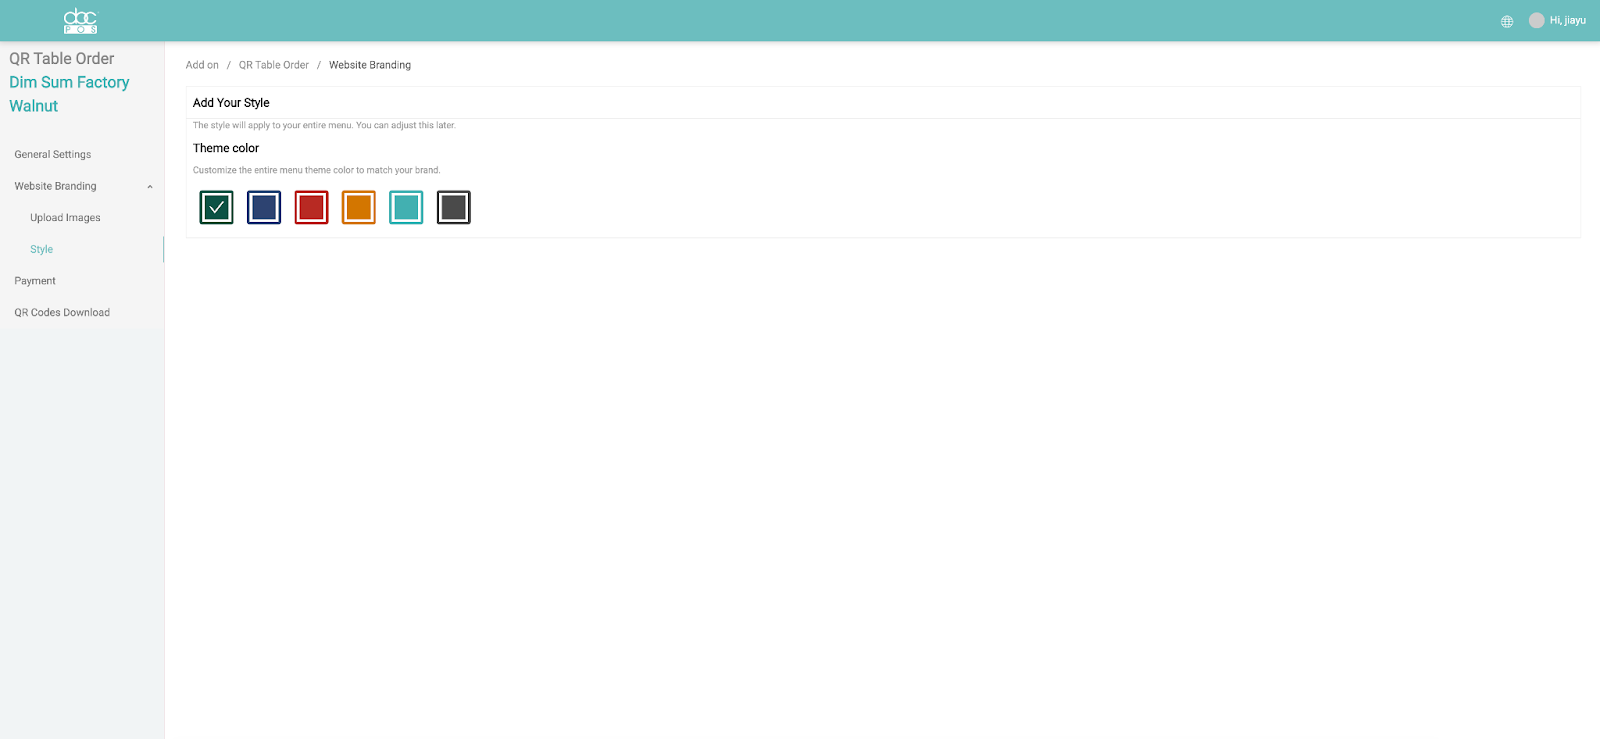
Can I change the overall color of the QR Table ordering?
- Back office>>Addon>>QR Table>>Select branch>>Website Branding>>Style
- Change Theme Color based on your preference
Can I take payment through the QR Table ordering?
- Yes you can enable pay online through QR Table in the back office
- Back office>>Addon>>QR Table>>Select branch>>Payment
- Switch button from left to right to turn on/off the online payments

Can I add a tip suggestion?
- Yes you add a tip suggestion to the QR Table in the back office
- Back office>>Addon>>QR Table>>Select branch>>Payment
- Enter tip suggestions here, such as 10%, 20% or 25%

- You can remove the tip suggestions by deleting from all cells
Where can I generate the QR codes?
- We will customize the table instruction with QR code to be pasted to each table, please contact your sales consultant
- To generate QR codes, Back office>>Addon>>QR Table>>Select branch>>QR Codes Download

- There are 3 sizes of QR codes that can be downloaded here
- Download the QR codes one by one or download them all together by clicking “Download All”
2. Order on the Mobile End
How can customers order through QR code?
- Customers can scan the QR code or tap the NFC with their phone on the table
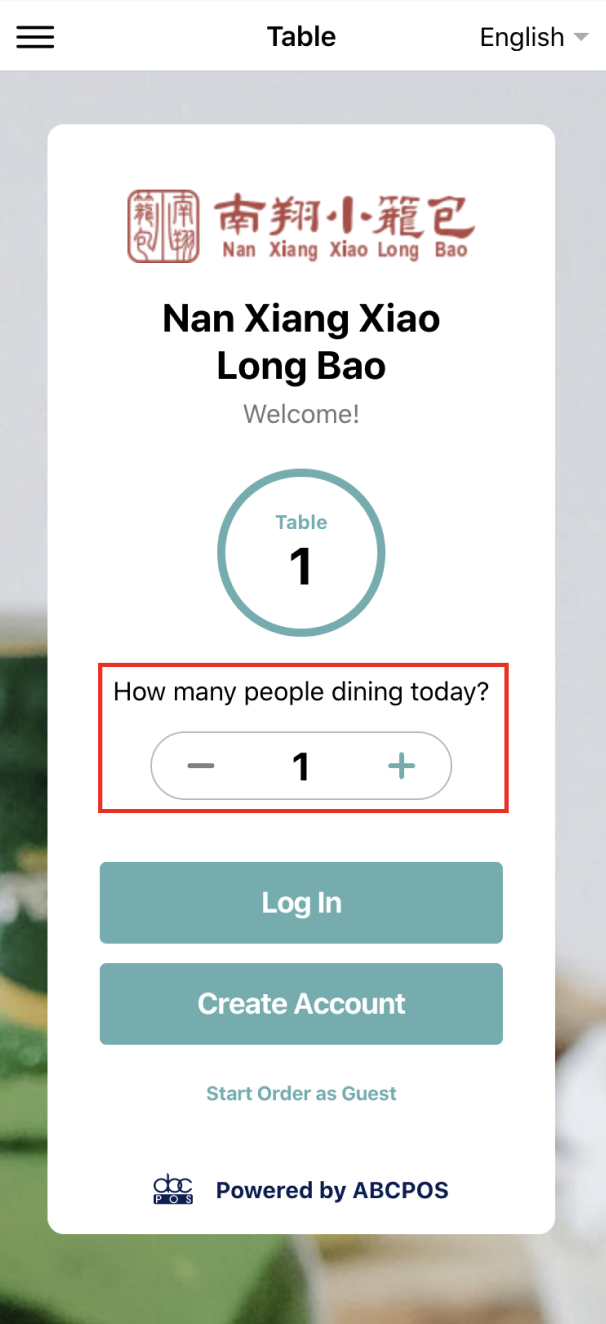
- Open the link
- Choose the number of people dining
- Customers can login, create account or order as guest
- Multiple customers can scan and add items in one shopping cart at the same time
- Customers can select a Menu from the drop-down menus, and select a category by swiping right and left or scrolling dishes up/down.


- Click on an item
- Select a variant and modifiers for the item. Add notes for special instructions. Change the quantity.

- Add item to cart
- Click “View Cart” to view the cart and edit the existing items
- Click “Order” to place order
- After placing the order, customers can still order more by clicking “Order More Items”

How can customers create accounts?
- Customers can scan the QR code or tap the NFC with their phone on the table
- Open the link
- Click “Create Account”
- Enter name, email, password and phone number.
- Finish by clicking “Create Account”

- Login with the account using the email/phone and password
Can Customers login using accounts such as Google?
- Yes customers can login using their Google and/or Facebook account.

Can Customers choose a different language?
- Yes we currently support English and Chinese, customers can switch language by tapping the dropdown language menu and select the language they prefer

Can Customers edit their profile?
- After logging in, tap the top left corner to expand the profile
- Click “View Profile”. Customers can change name, email and phone numbers

What can customers do with the profile?
- Customers can add a card for later use and faster checkout

2.16 View Order History
Customers can see the order that was paid or placed but still unpaid in the past.

2.20 Check the order already placed but unpaid
After the customer places the order they can check the order detail through the bottom right button. (After the customer places the order the Cart will empty).

2.21 Pay Online
Click the "Pay Online". Enter the Billing Info, credit card information, select tips and click "Submit". Then "Payment Success" popped out.

2.22 Pay in Store

2.23 Receipt
After successfully paying the order. Choose from 2 options(Text, Email) to receive the receipt, or call the waiter to print it out for you.

3.0 POS
3.1 Notification
If the restaurant owner turns on the requested confirmation on the Back Office, when a new order is placed, the POS would show a Red notification to inform the staff that there is a new qr table order that needs action(at the moment the table status is “Seated” on the Floor page). Server needs to manually send orders to the kitchen. After being sent to the kitchen, the order status turns to "Sent" status.

Waiter also can access the new QR table order from the notification list.

3.11 QR Table order
The QR Table order should be exactly the same as the dine-in order (items, subtotal, tax, tips, service fee, delivery fee, total).