Create menu categories
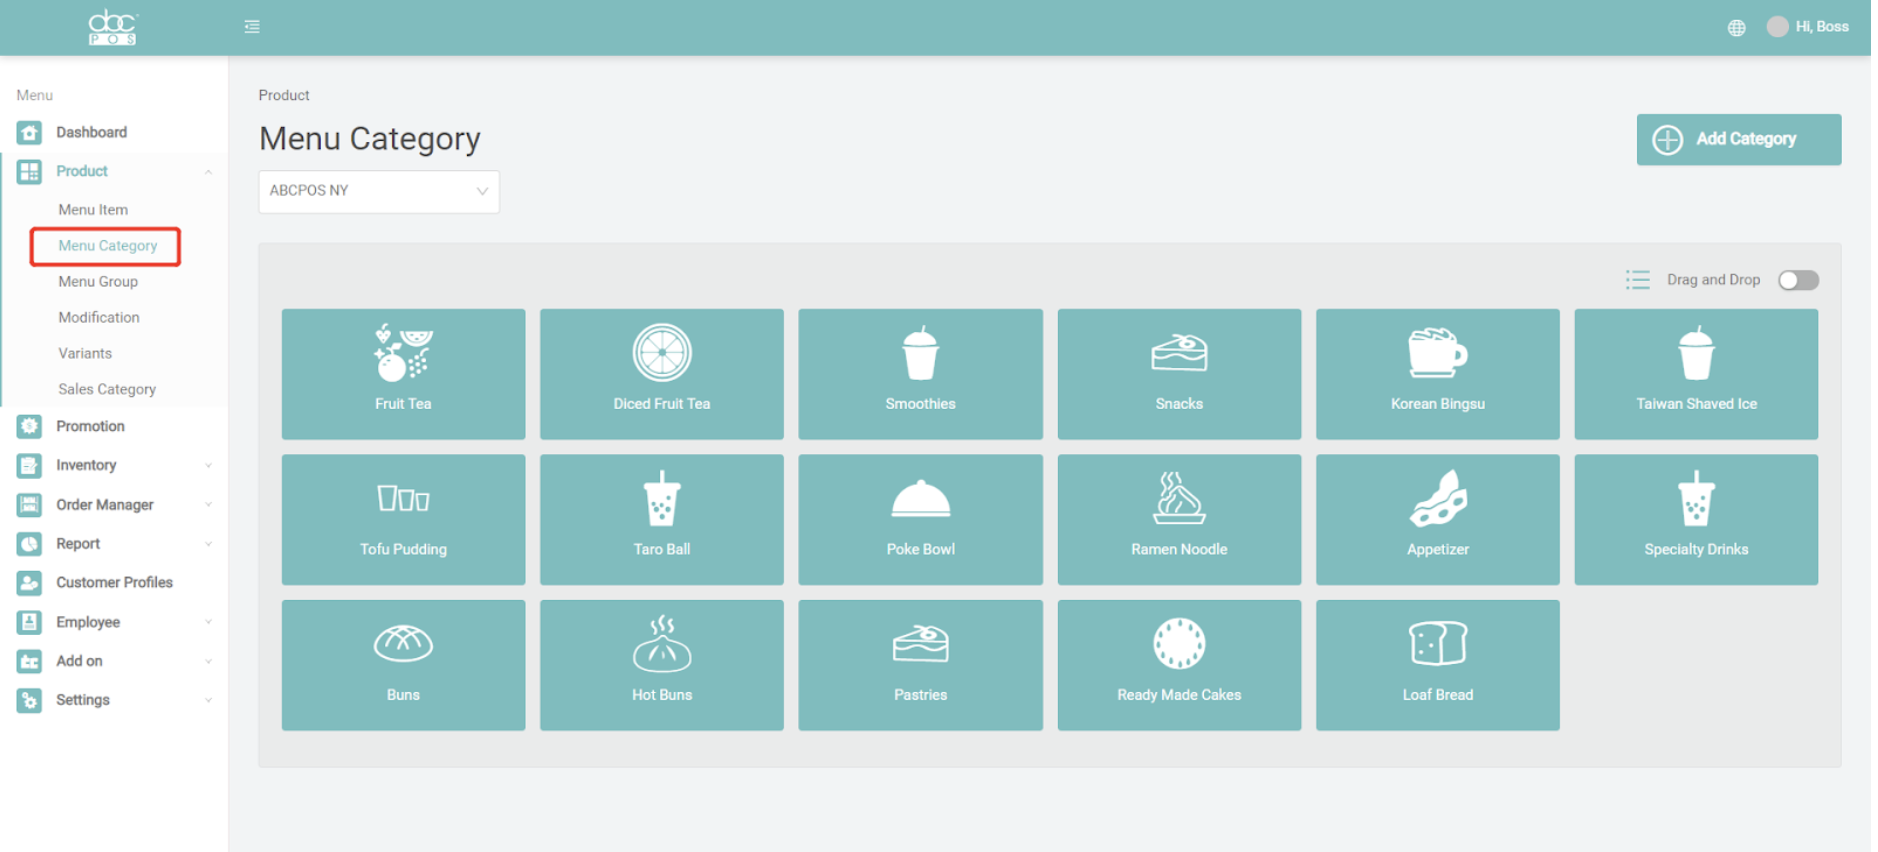
- Find “Menu Category” under “Product” and go to the “Menu Category” page
- Select a branch you want to apply the menu setting to.
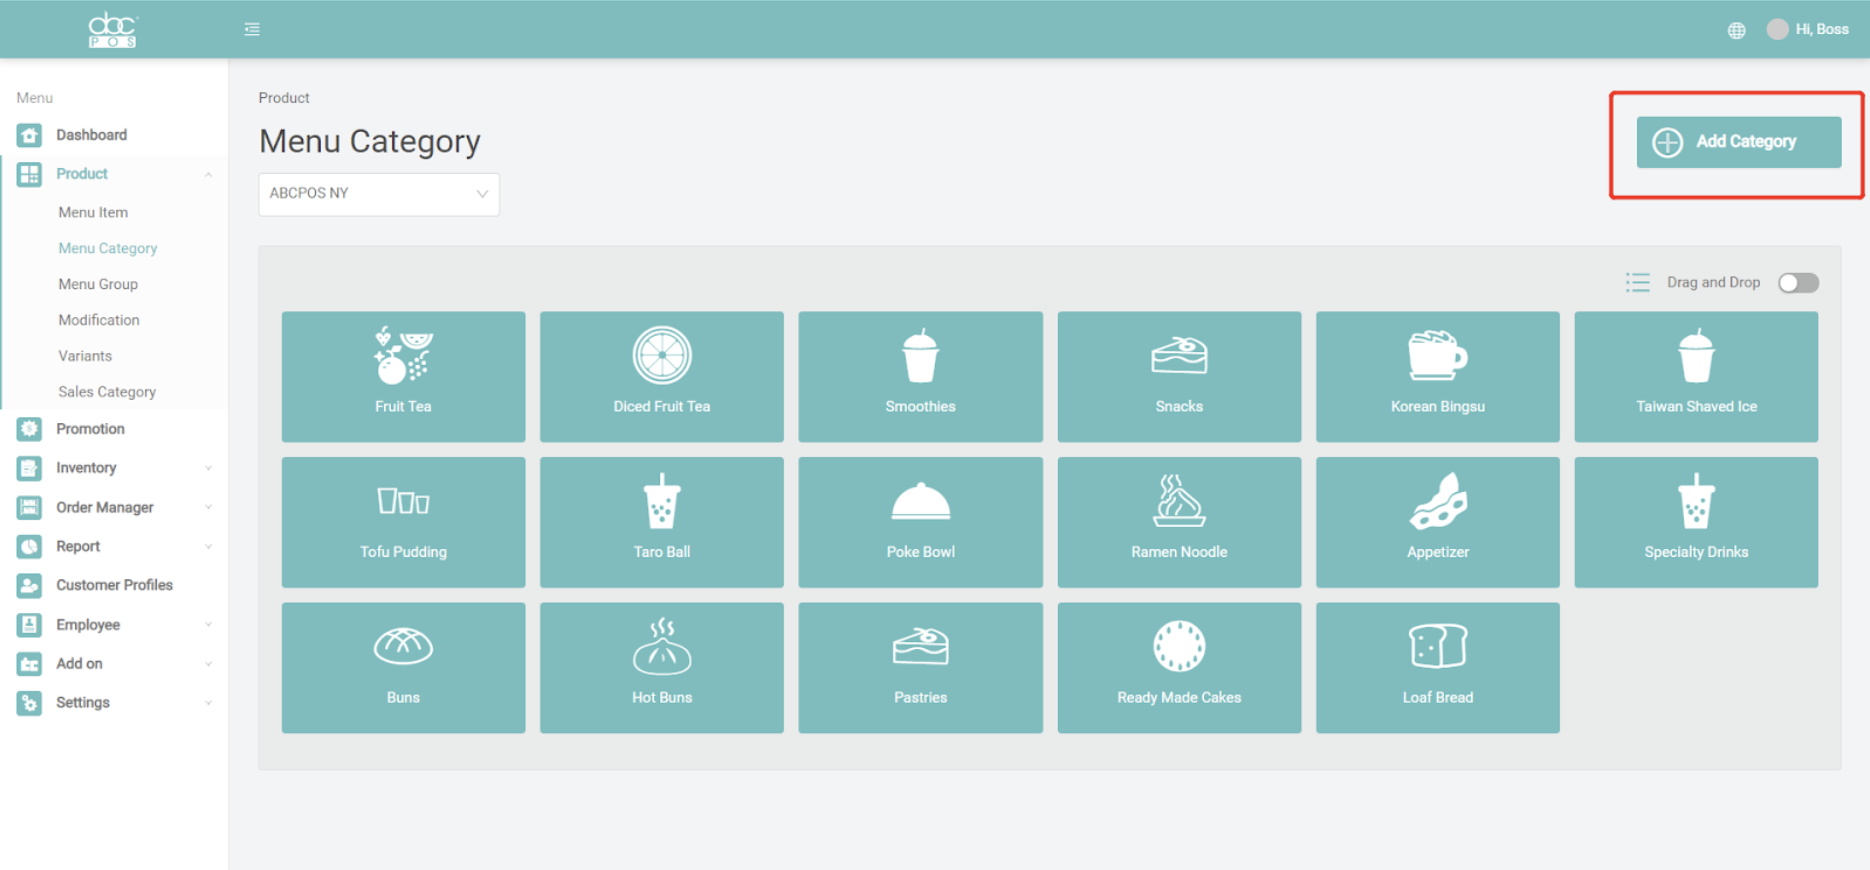
- Click the “Add Category” button to create a new one.
Add/ Edit menu categories
File the name and select menu group, tax, modifier groups, variant groups for this category. These settings will be applied to the menu item that is under this category.
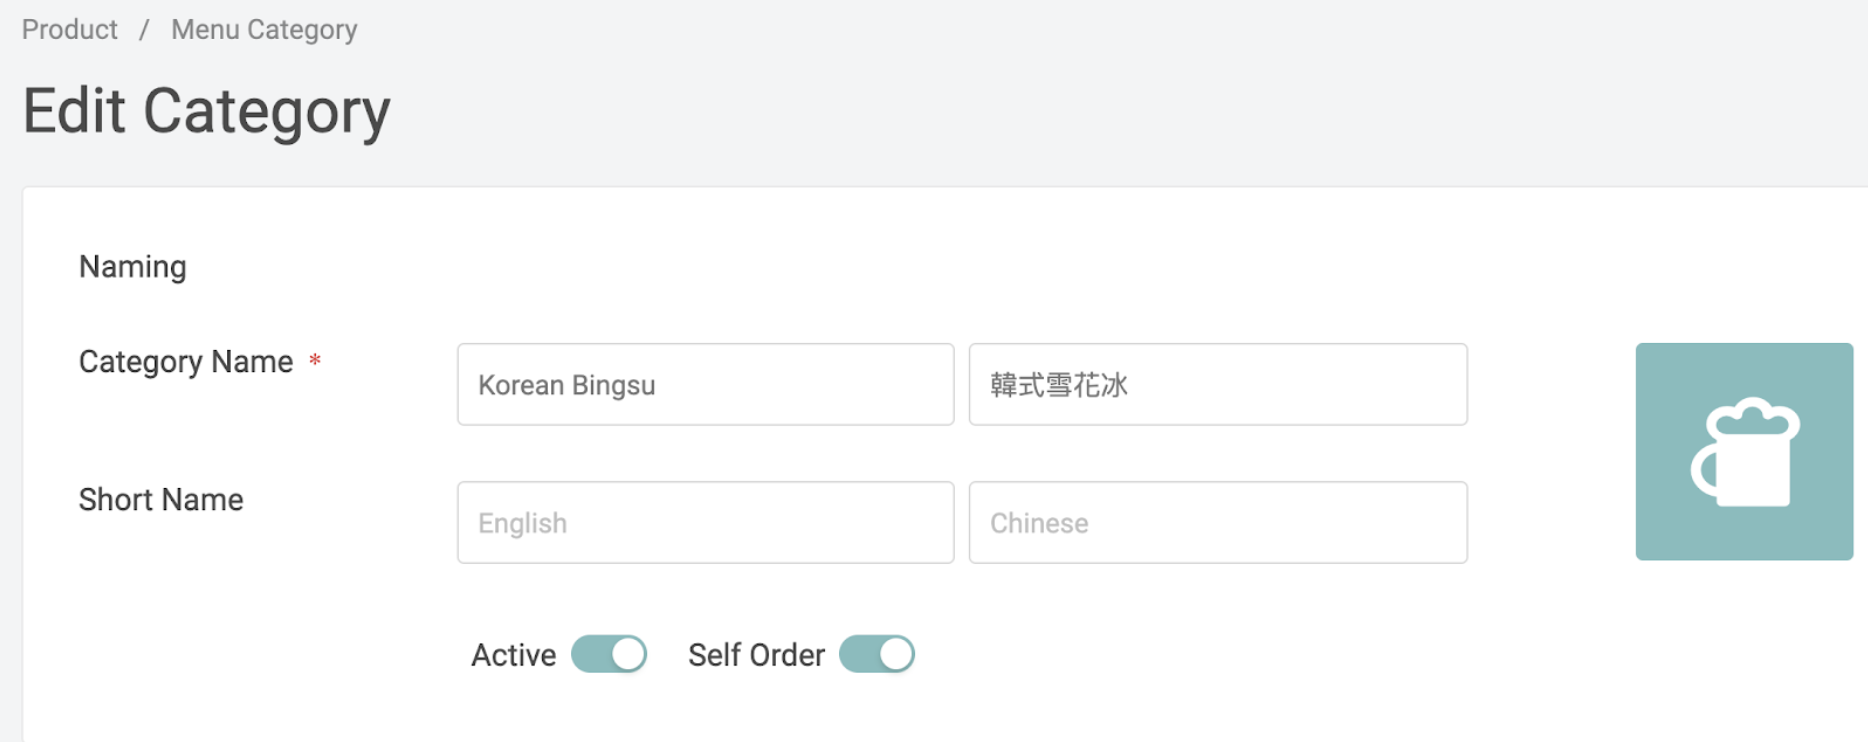
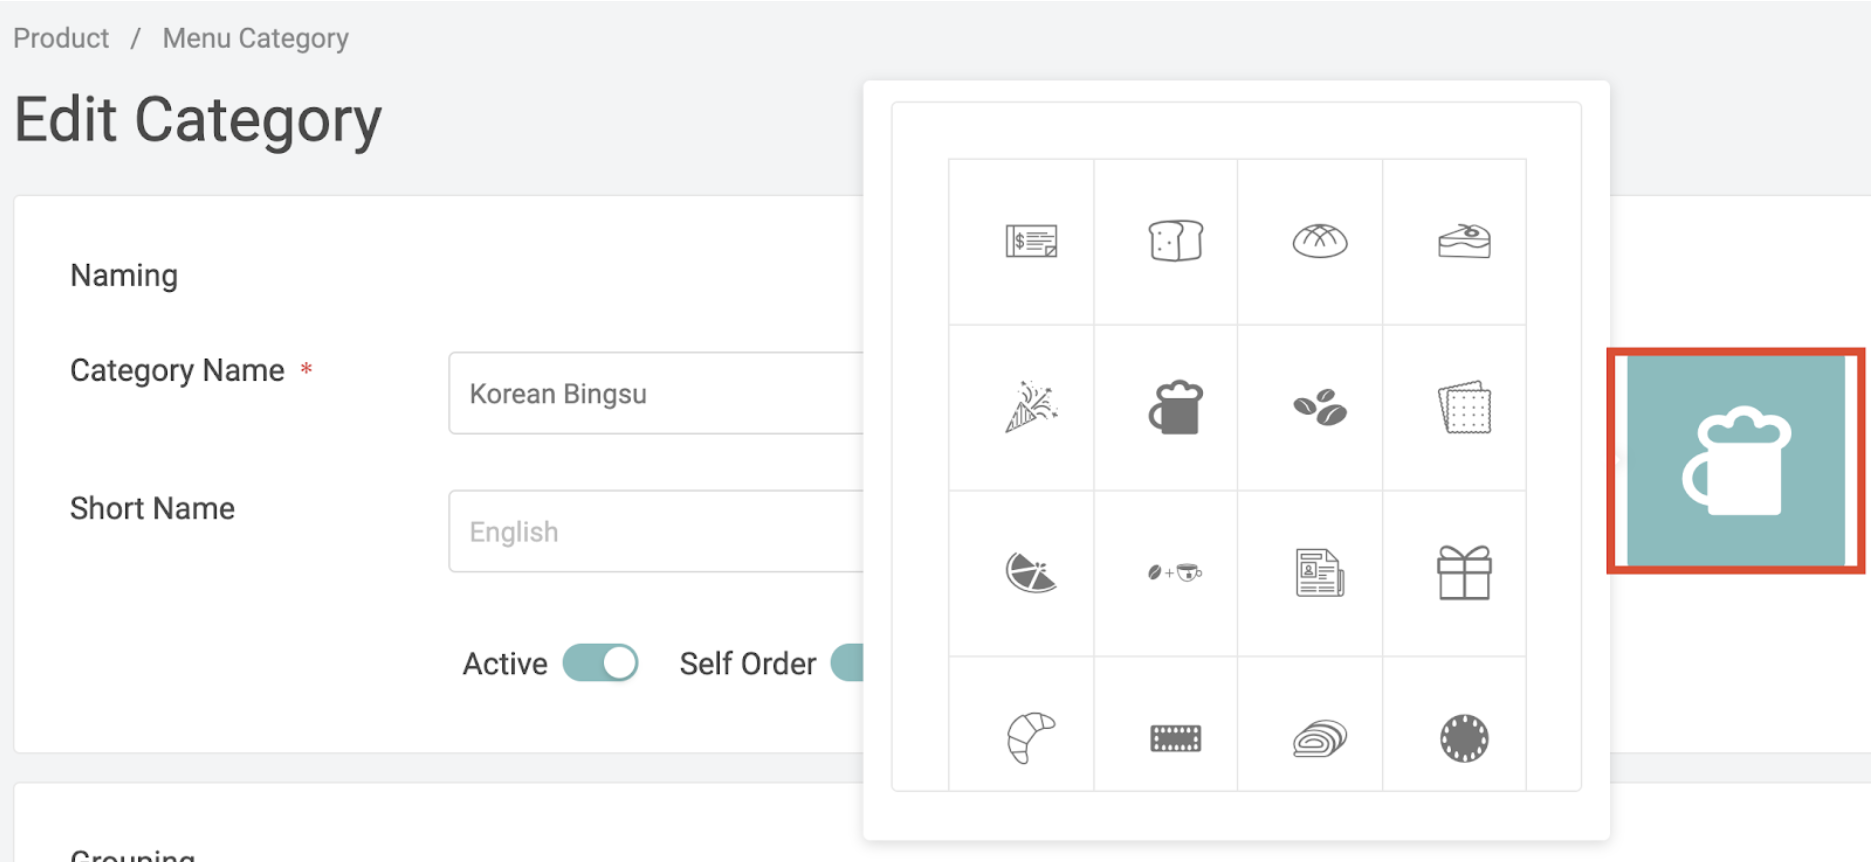
Naming:-
- Category Name: This first(left) column is for English names and the 2nd(right) one is for Chinese names. If you only display ONE language on POS, please duplicate the name on BOTH columns.
- Active: switch on(green) to show it on the POS
- Self-order: switch on(green) to show it on Self-Ordering Kiosk.
Grouping:
- Menu Group: Select the menu group from the dropdown menu, if you don’t have one, go back to Step 4 or click
 for quick adding.
 - Sales Category: please find the setting in Step 7. You can use the” Default Sales Category” before creating one.
- Select the tax from the dropdown, and the tax will apply to all the menu items under this sales category. (How to set up a sales tax?)
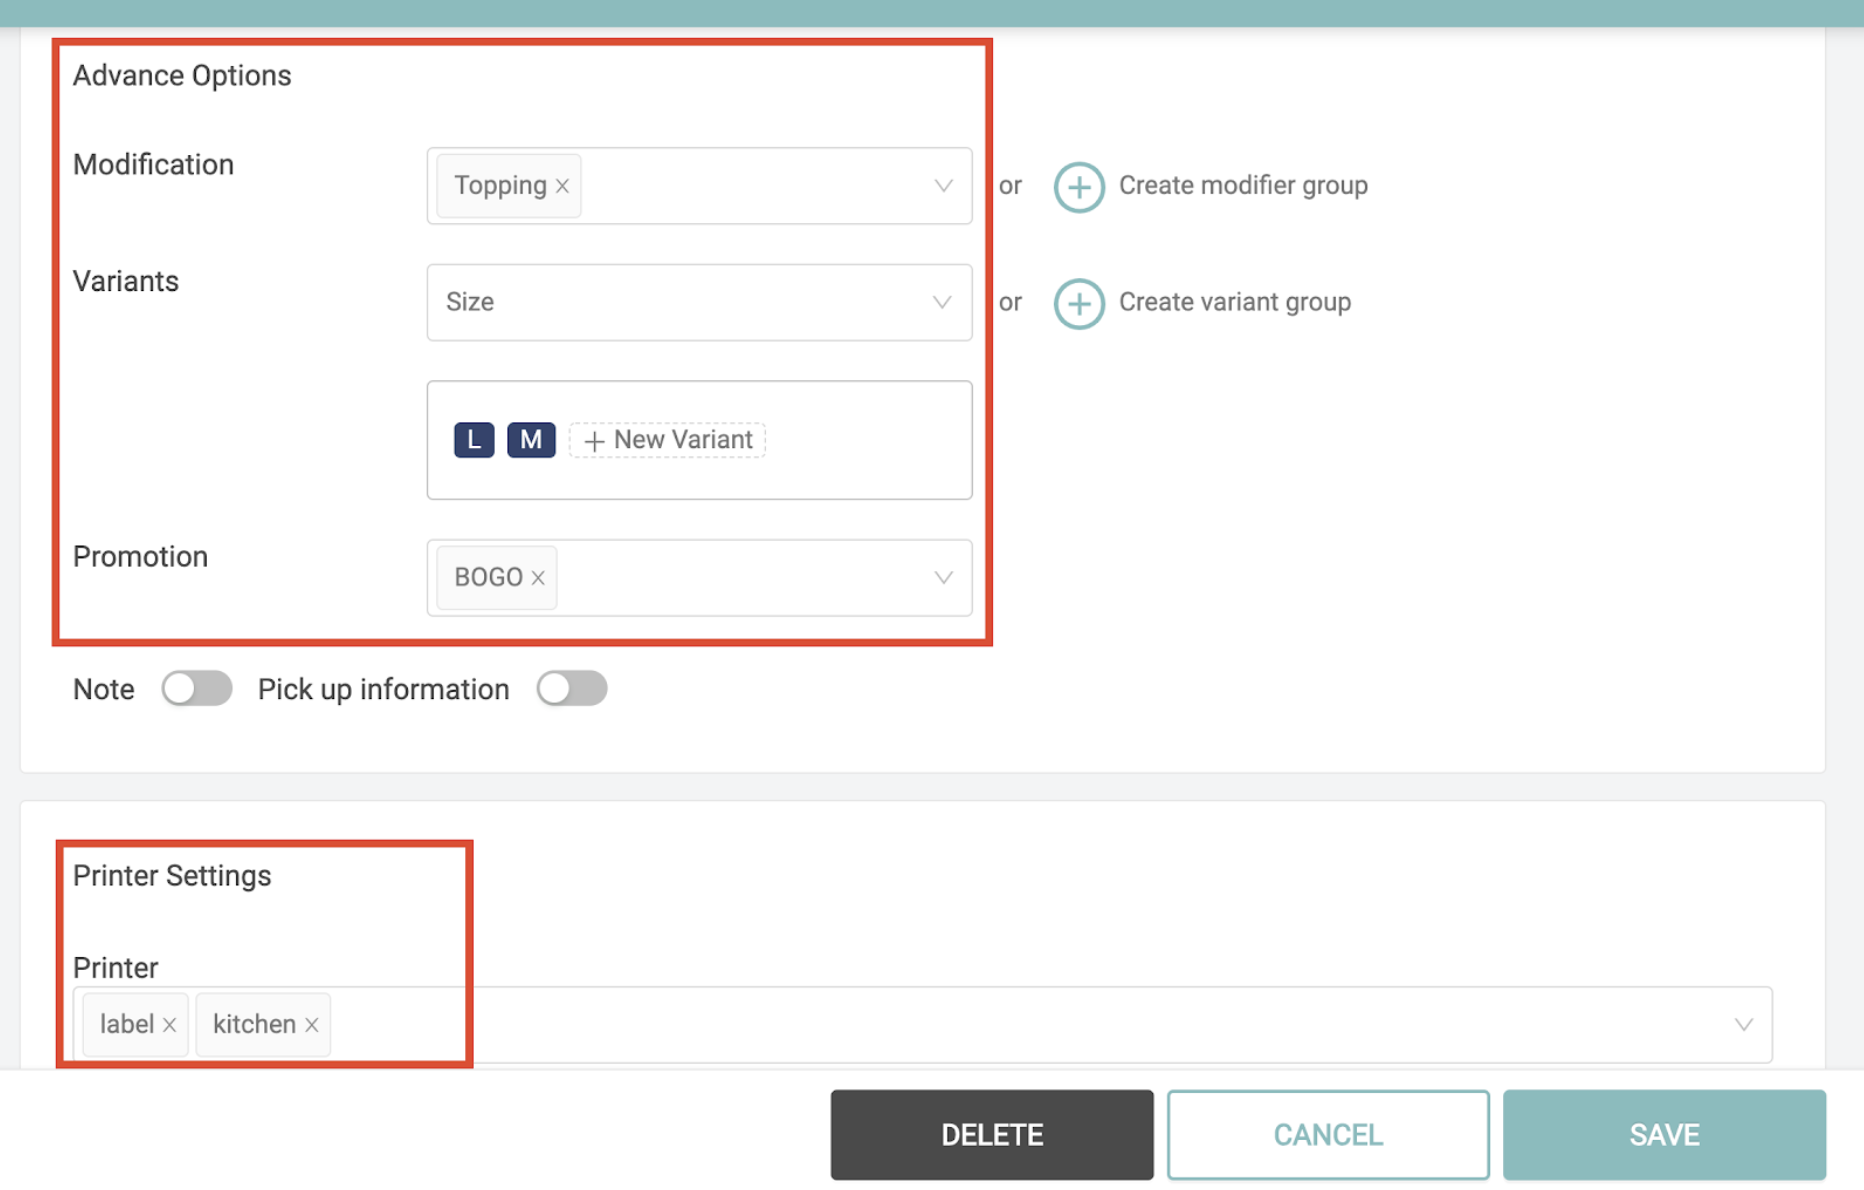
- Modification: Select one or multiple from the dropdown and apply to all the menu items under this category.
- Variants: Select one from the dropdown and apply to all the menu items under this category.
- Promotion: Select one or multiple from the dropdown and apply to all the menu items under this category
Printer Setting:
Attach one or multiple printers from the dropdown and it will apply to all the menu items under this category.
- Click “SAVE”